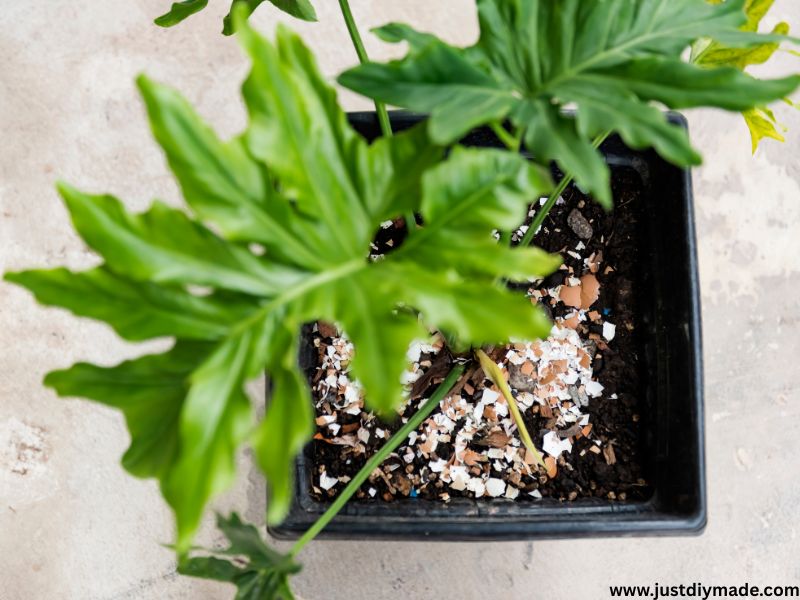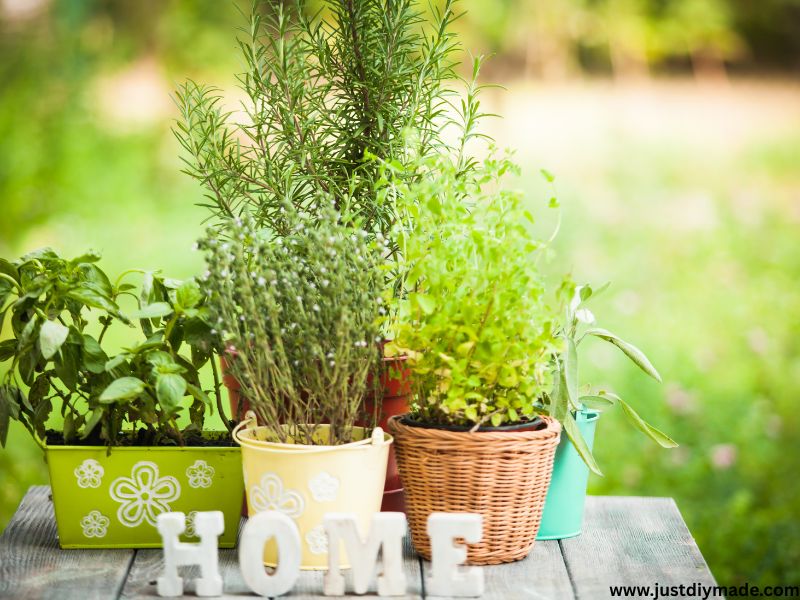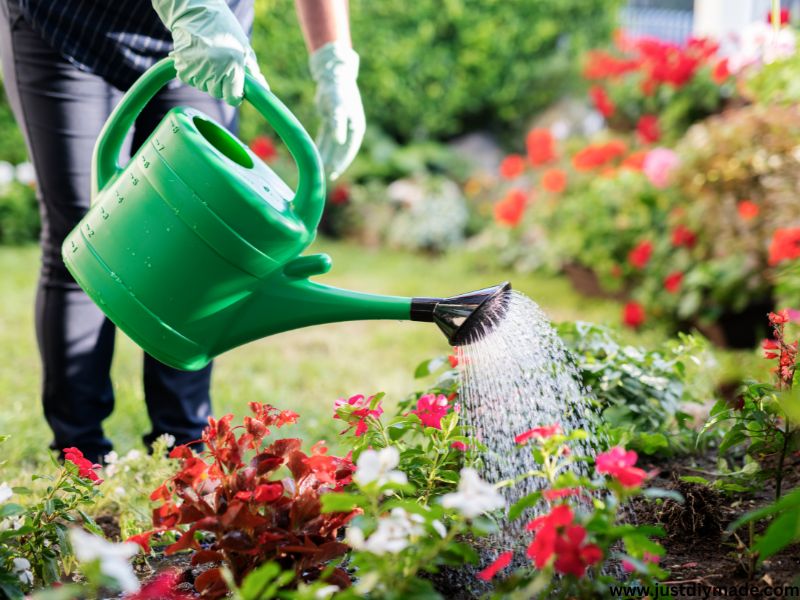
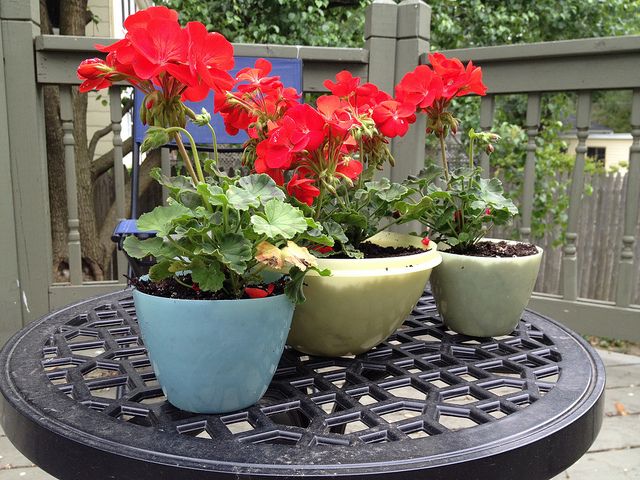
This post talks about DIY Self-Watering Planters .
Ever forget to water your plants for a few days and come back to find them wilted or bone dry? You’re not alone. Life gets busy—between work, errands, and family, it’s easy to let plant care slip through the cracks.
That’s where self-watering planters come in. These clever containers keep your plants hydrated without daily attention. They’re especially helpful during hot weather or when you’re out of town for a few days.
And here’s the best part—you don’t need to buy expensive pots. You can make your own self-watering planters using simple recycled items you probably already have at home. It’s budget-friendly, eco-conscious, and surprisingly fun.
Even if you’re new to gardening or a seasoned plant lover, these DIY planters are practical, easy to build, and perfect for busy lifestyles.
In this post, I’ll show you 7 creative ways to make your own self-watering planters using everyday items. Plus, I’ll share helpful tips and easy hacks to make each project even better.
Ready to give your plants a low-maintenance upgrade? Let’s dive in!
1. Two-Liter Soda Bottle Planter
This DIY Self-Watering Planters is probably the most popular and beginner-friendly DIY self-watering planter.
All you need is an empty 2-liter soda bottle, a piece of cotton string or fabric for a wick, and a little creativity.
Cut the bottle in half horizontally.
Flip the top part upside down and insert it into the bottom half. Punch a small hole through the bottle cap and thread a strip of cotton fabric or string through it.
This acts as the wick that pulls water up from the reservoir into the soil.
Fill the bottom half with water, add potting mix to the top half, and plant your herbs, lettuce, or flowers.
The wick will keep the soil moist without overwatering.
Tip: Wrap the outside with jute rope or paint it to match your decor. You can even make a whole row of these for your windowsill garden.
Pro Tip: Add a few drops of liquid fertilizer to the water once a week to keep your plants nourished.
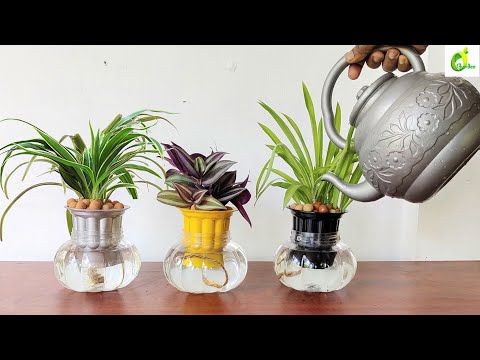
2. Mason Jar with Cotton Wick
Got an old mason jar and a small plastic nursery pot?
This combo makes a fantastic mini self-watering system—perfect for herbs like basil, parsley, or mint.
Cut a small hole in the bottom of the nursery pot, thread a cotton wick or shoelace through it, and place it inside the jar.
Fill the jar with water and the pot with soil and your chosen plant.
The wick will slowly draw up water from the mason jar into the soil as it dries out, giving your plant a steady drink without the risk of overwatering.
Tip: Choose clear mason jars if you want to keep an eye on the water level, or use tinted ones to reduce algae buildup from sunlight.
Pro Tip: If you’re growing herbs in the kitchen, label the jars with chalkboard stickers or paint for a charming, farmhouse-style look.
3. Yogurt Cup Reservoir Planter
Small yogurt cups or pudding DIY Self-Watering Planters containers can be repurposed into handy little water reservoirs for indoor plants.
You’ll need two containers—one for the plant, one for the water—and a strip of absorbent fabric like cotton or felt.
Poke a small hole at the bottom of one yogurt cup, insert a wick, and then nest it into the second cup filled with water.
Fill the top container with potting soil and your plant. The wick will do the rest, pulling moisture upward as needed.
Tip: This works great for succulents or baby seedlings that don’t need tons of water but like consistent moisture.
Pro Tip: Save several yogurt containers and create a matching set of planters for your windowsill or office desk.
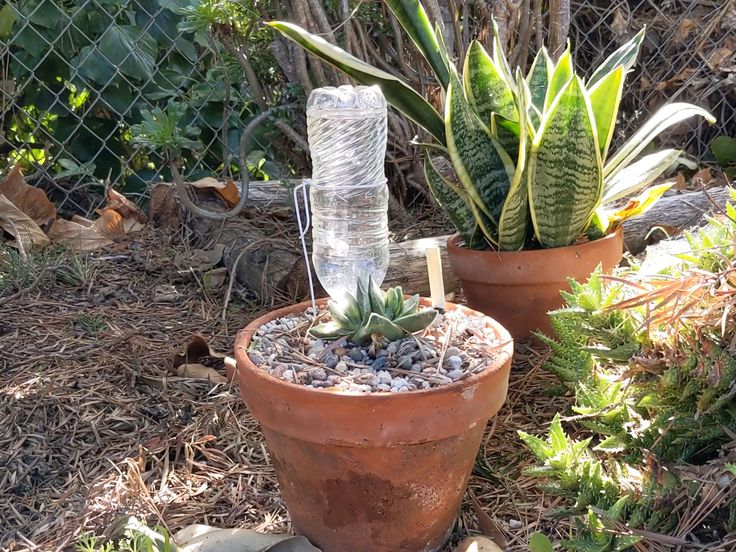
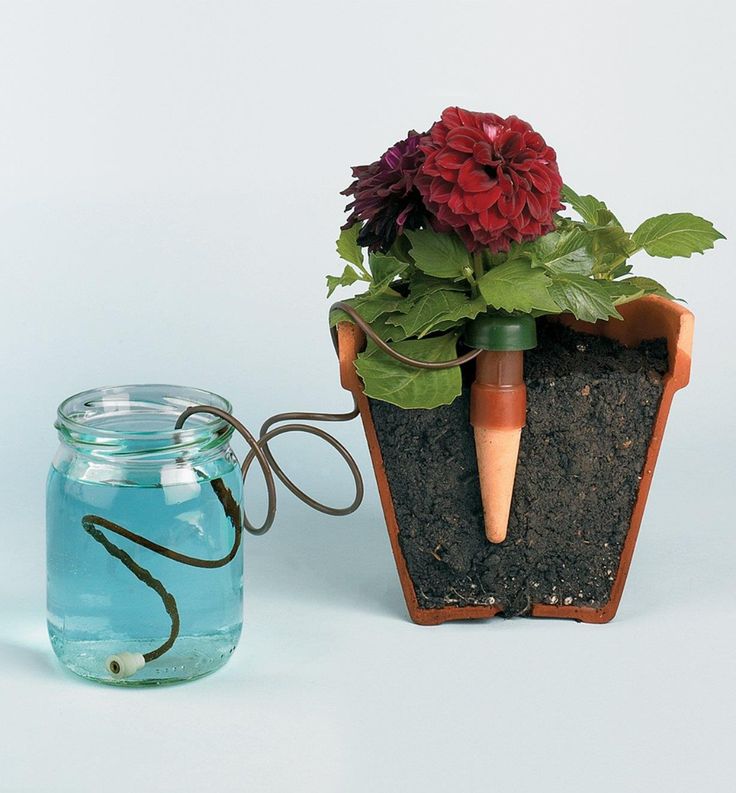
4. Wine Bottle and Terra Cotta Spike Planter
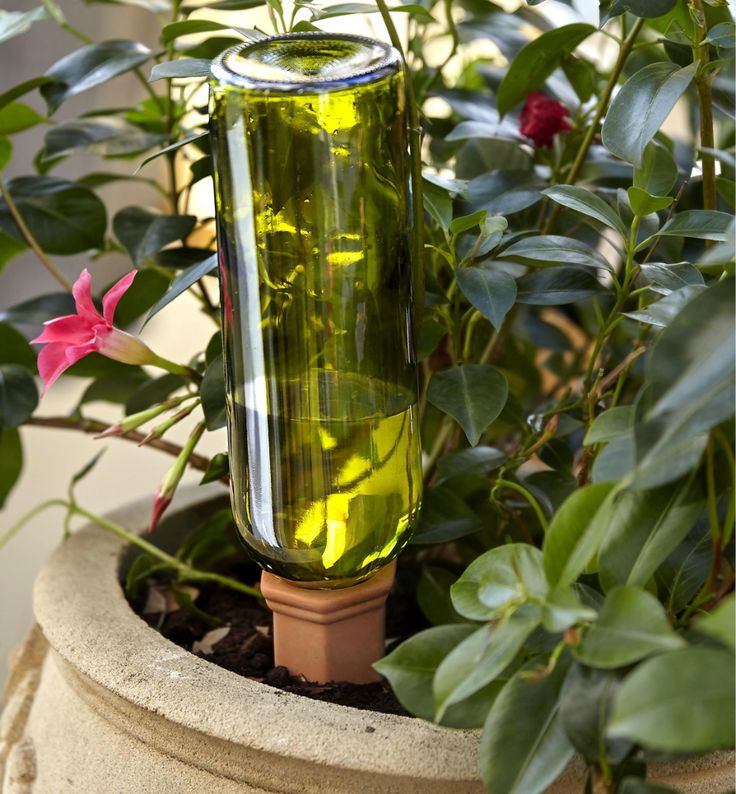
If you’ve got empty wine bottles and a few terra cotta watering spikes, you can create a sleek, low-effort watering system for your plants.
Fill the wine bottle with water, insert a terra cotta spike into the soil next to your plant, then place the neck of the bottle into the spike.
The spike slowly releases water into the soil as needed.
Tip: This method works especially well for larger houseplants or outdoor containers where a soda bottle would look out of place.
Pro Tip: Use tinted wine bottles for a stylish look and to help block light, which slows algae growth in the water.
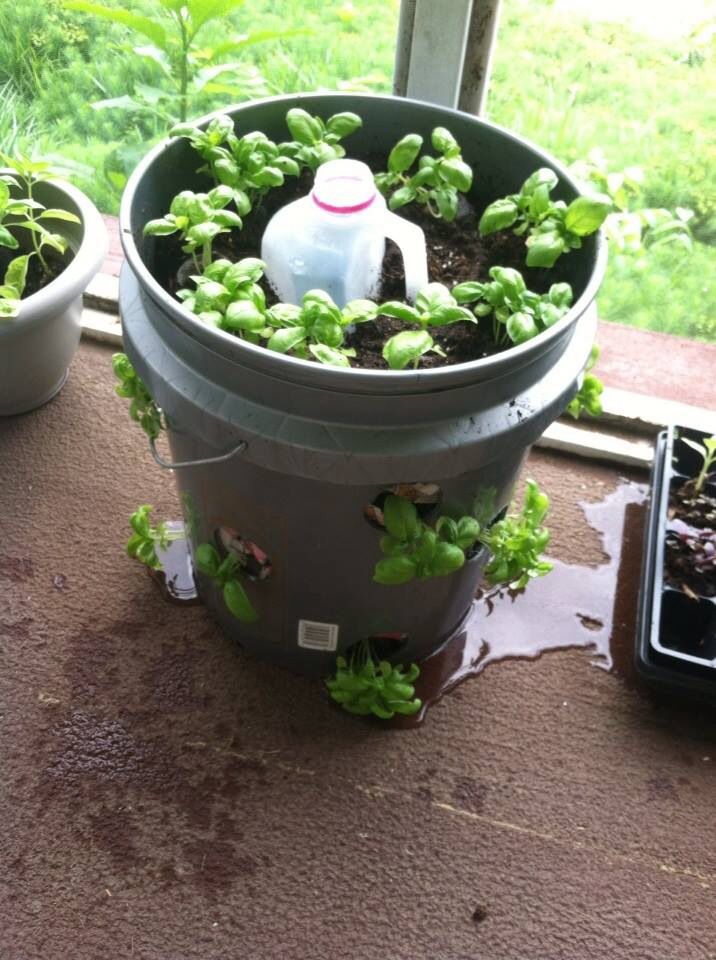
5. Recycled Tupperware Planter Box
Old plastic food containers, this DIY Self-Watering Planters can be transformed into spacious self-watering planters—ideal for leafy greens or multiple herbs.
You’ll need two containers that can nest inside each other, plus some wicking fabric, a drill or sharp knife, and a small plastic cup to hold the soil above the reservoir.
Drill holes in the bottom of the top container and cut a hole big enough for a cup or basket to sit snugly inside (this is your wicking chamber).
Line the cup with a wick, fill it and the rest of the top container with soil, and fill the bottom container with water.
The soil in the wicking cup will stay moist and spread water to the rest of the planter.
Tip: Label each planter with what you’re growing, especially if you’re using them for lettuce, spinach, or kale.
Pro Tip: Add a drainage hole and cork on the bottom reservoir so you can flush or refill the water without disturbing your plants.
6. Tin Can + Nylon Rope Planter
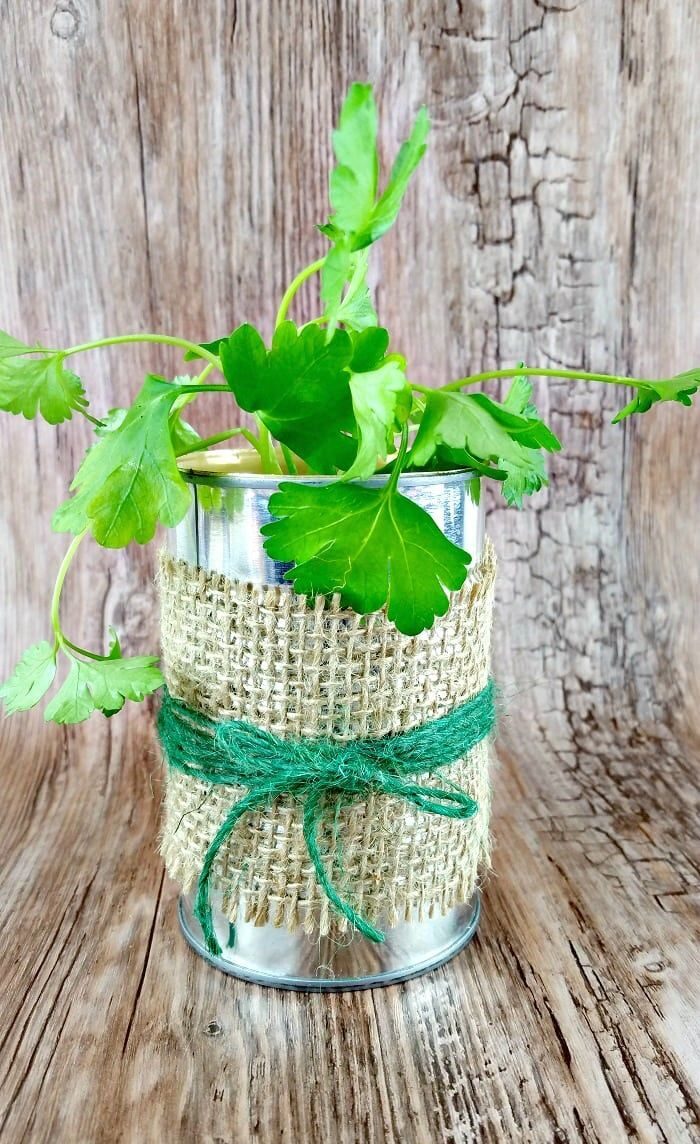
This one is surprisingly effective and super stylish with the right finish. Grab an old tin can (like from soup or beans), clean it thoroughly, and poke a small hole in the bottom.
Thread through a piece of nylon rope and let several inches dangle out the bottom.
Place the can over a shallow dish or another tin lid filled with water. The nylon will act as a wick and draw water upward.
Tip: Spray paint your cans in matching colors or patterns to turn them into eye-catching mini planters.
Pro Tip: Group multiple tin cans together on a tray to create a DIY kitchen herb garden that waters itself.
7. Milk Jug Planter with Bottom Reservoir
Those empty gallon milk jugs can be turned into surprisingly functional self-watering planters.
Simply cut the jug in half (similar to the soda bottle method), punch a hole in the cap for a fabric wick, and nest the top part upside down into the bottom half filled with water.
This larger version gives you more room for root veggies like radishes or bush beans. It’s perfect for balconies, patios, or even small garden beds.
Tip: Cut a viewing strip on one side of the jug to monitor water levels more easily.
Pro Tip: Add a small funnel to the corner of the top half to make refilling the reservoir quick and mess-free.
Helpful Tips for All Your DIY Self-Watering Planters
- Use the Right Soil Mix: A light, fluffy potting mix works best for self-watering planters. Avoid heavy soils that retain too much water.
- Mind the Wick Material: Cotton fabric, old shoelaces, strips of t-shirts, or felt are all good options. Avoid synthetic materials that don’t absorb water.
- Label Everything: Especially if you’re growing herbs or veggies, it’s helpful to know what’s what. Plus, it makes your planters look more intentional and organized.
- Clean and Sanitize: If you’re using containers that previously held food, wash them thoroughly and sanitize to avoid bacteria that could harm your plants.
- Watch the Water Level: Check your reservoirs every few days, especially in warm weather, and refill as needed.
- Add Fertilizer: Liquid fertilizers can be added directly to the reservoir every week or two to give your plants a boost without overdoing it.
- Keep It Shady (Sometimes): If your water reservoirs are clear or translucent, place them out of direct sunlight to avoid algae buildup.
- Start Small: If you’re new to gardening, try one or two of these DIY planters first. Once you see how easy and effective they are, you’ll want to make more.
- Make it a Family Project: These planters are a great way to get kids involved in gardening while also teaching them about sustainability and how plants grow.
- Repurpose Creatively: Don’t toss containers without thinking—look at every plastic bottle, jar, or tub as a potential future.
Conclusion
Self-watering planters are one of those little life upgrades that seem so simple, but make a big difference—especially if you have a busy schedule or tend to forget your watering routine.
With just a few recycled items, a bit of creativity, and a little time, you can create functional and attractive planters that keep your plants healthy and thriving.
The beauty of these DIY projects is how accessible they are. You don’t need expensive supplies or fancy equipment. Just some things from your recycling bin, a few basic tools, and a bit of garden-loving motivation.
Even if you’re setting up a window herb garden, sprucing up your balcony, or starting your spring seedlings, these self-watering planters are the perfect mix of practical and fun.
Plus, there’s something incredibly satisfying about turning trash into treasure—especially when that treasure helps you grow fresh herbs, beautiful flowers, or tasty veggies right at home.
It’s eco-friendly, budget-conscious, and a great way to reduce waste while flexing your creative muscles.
So the next time you empty a soda bottle, finish a tub of yogurt, or pop open a can of beans, think twice before tossing it in the recycling.
That everyday item might just be the start of your next clever, garden-friendly DIY.
Give one (or all!) of these planter ideas a try and watch your garden flourish—with way less work and way more style.
You May Also Like
10 Succulent Arrangements in Unexpected Containers